Connecting PSU cables to power your components
How to connect a PSU to other PC components.


1. Connect cables to the PSU
If you have bought a semi-modular or fully modular PSU, then you need to connect the power cables to the PSU. For more information on modular PSU's check: modular vs non-modular
Once the cables have been connected to the PSU it should look similar to the image below
2. Connect 24 pin cable to the Motherboard
Once all the correct cables have been connected to the PSU. Connect the large 24 pin main motherboard power cable. This will either be a straight 24 pin connector or a 20+4 pin connector. Generally, 24 pin motherboards are the standard so all pins will more than likely be connected.
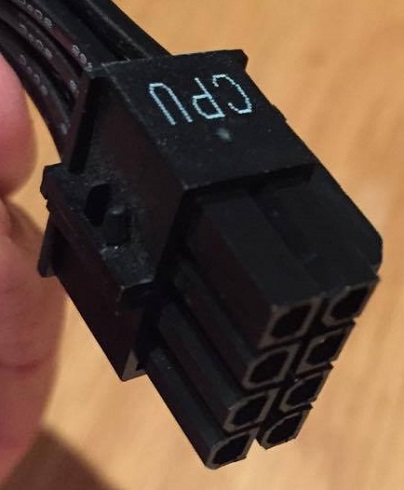
3. Connect 8 pin cable to the CPU
The motherboard must also be connected to the 8 pin power supply cable, which powers your CPU. Look for the identical 4+4 pin connection on your motherboard, which should be close to the CPU socket, as it will be in a 4+4 pin configuration.
See how it appears on the motherboard diagram from previously. If you run into trouble, check your own handbook for a label that is comparable to "CPU PWR1" in our motherboard manual. The majority of contemporary motherboards need all 8 pins to be connected, but some just need 4, in which case you can connect any of the two 4 pin headers. Carefully align the pins, hold the motherboard in your hands for more control, and then push the cable firmly into position.
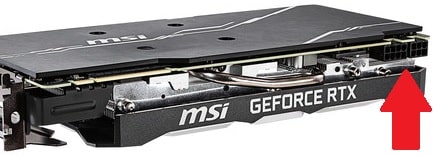
4. Connect the graphics card's PCIe power cable (Optional)
The majority of current graphics cards today need a specific power connection from the power source, however some lower-powered GPUs, like the NVidia GTX 1050 TI, don't (and receive all required power directly from the PCIe slot on the motherboard)
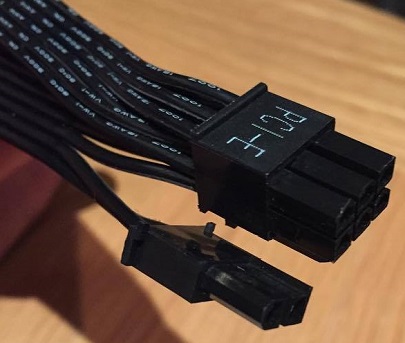
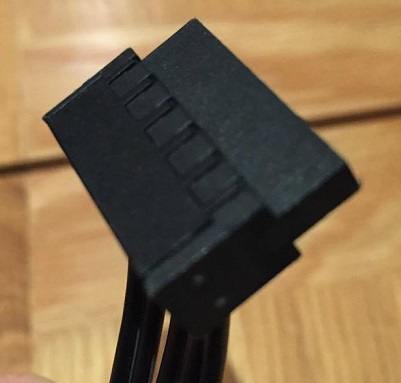
A 6 or 8 pin connector, or dual 6 and/or 8 pin connections for more power-hungry GPUs, will be used if your GPU requires a direct power connection (it will indicate so in the specs, or you can just look for the pin connectors like the ones shown below). For instance, a 6 pin and an 8 pin power connector are needed for the MSI GeForce RTX 2070 Super Ventus OC:
Two PCIe power connector cables in the shape of 6+2 pin connectors are included with any respectable modern power supply, allowing you to connect to either the 8 or 6 pin connections on a GPU. Connect any PCIe power cords that are required for your specific video card now.
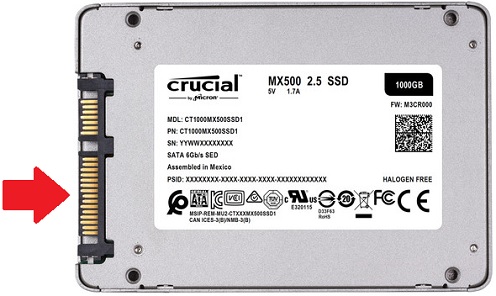
5. Attach SATA power cables to the strorage devices and accessories
Your storage drives (SATA SSDs or HDDs), optical drives, and other accessories like specific CPU liquid coolers are all powered by these SATA ports.
If your PSU doesn't have enough SATA power cords to connect all of your SATA discs and accessories, you can use the Molex connectors on your power supply by using a Molex to SATA converter. Please proceed to connect your power supply SATA cables to any HDDs, SSDs, or optical drives you may have installed in your PC.
This step does not apply to m.2 SSDs because they do not need power cables (or data cables, for that matter). These incredibly thin SSDs are powered just by the motherboard and slide right into it.
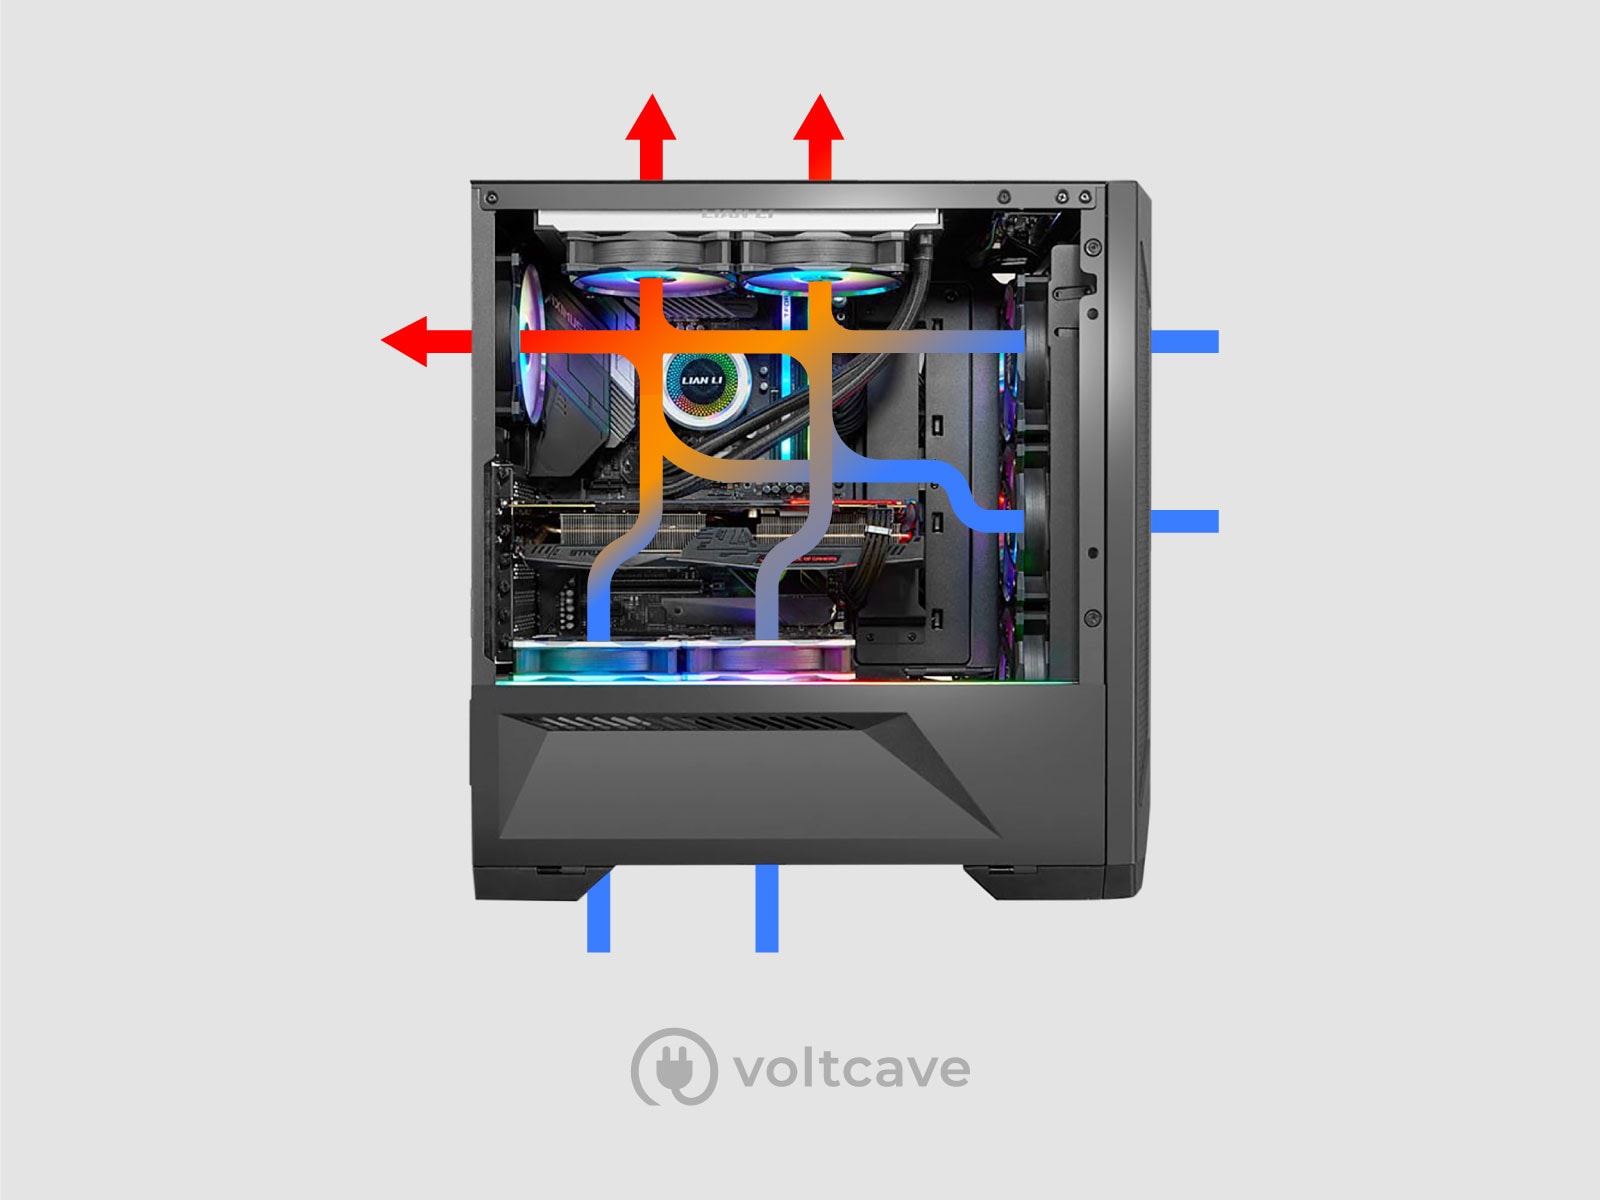
6. Cable Management and Airflow
Keep airflow in mind when managing your wires, and if at all possible, avoid covering your coolers or case fans with cords. Don't worry too much if your case doesn't offer a lot of cable management options but try your best to get by with what you have.
Use cable/twist ties to bundle any stray cables (or groups of cables) together into the same direction and place them against the side panel after threading them through any holes that are accessible in your case. You want to keep your system free of any significant cable clumps or bulges. Some cases go above and above by including built-in cable lugs and fast release cable ties on the back of the case for easy cable attachment.

Comments
Post a Comment